How to Create a Website for Free
Can you really build a website for free? Absolutely – but with fine print. Today’s website builders are designed to lower barriers so anyone can publish a website without technical knowledge, upfront fees or even hosting setup. Platforms like Wix, uKit and WordPress allow you to launch a website from scratch without writing code or hiring a designer.
However, “free” often means trade-offs: you may see platform branding (like “Powered by Wix”), be stuck with a subdomain (e.g. username.wixsite.com/sitename), get limited storage or bandwidth or face fewer customization options.
In other words, free plans are fantastic for testing ideas, creating personal landing pages, school projects, portfolios, or temporary sites – but when you need a professional business presence, accepting payments, or custom branding, upgrading is almost always necessary.
Let’s examine the best tools you can use to build a site for free – and what you can realistically expect.
Top 3 Platforms to Build a Website for Free
Each of these 3 platforms lets you create a website at no initial cost – but each takes a different approach to what “free” means. Below, we break them down from most beginner-friendly to most scalable.
1. Wix Free Plan
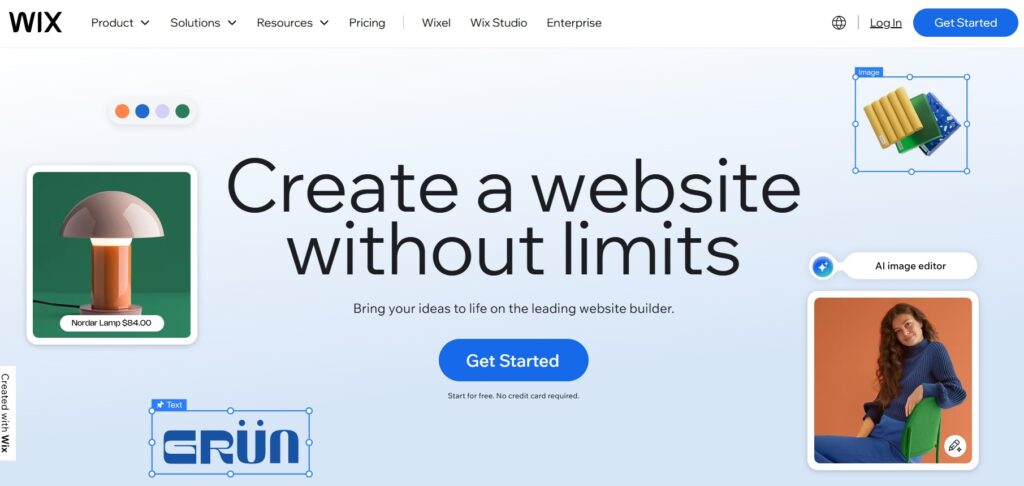
Wix is a fully hosted website builder known for its beautiful templates, easy drag-and-drop interface, and fast publishing. It includes a permanent free plan, so you can keep your site live forever without paying – as long as you’re okay with platform branding and a subdomain.
What You Get for Free:
- 100s of high-quality templates across categories (blog, business, portfolio, resume etc.)
- Visual editor with drag-and-drop blocks, effects and animations
- Free hosting, free SSL encryption
- Built-in blog, galleries, and video support
- Access to Wix App Market (limited to free tools)
- Basic SEO setup through “Wix SEO Wiz”
What’s Limited:
- You can’t connect your own domain
- Wix branding and ads appear throughout the site
- Only 500MB storage + 500MB bandwidth
- Limited eCommerce (no online payments on the free plan)
How to Build a Website for Free with Wix
Wix is one of the easiest ways to build a free website without coding, thanks to its drag-and-drop builder and 900+ professionally designed templates. Here’s how to get started:
Step 1: Create a Free Account
Go to the Wix website and sign up using your email, Google or Facebook account. Wix will guide you through quick onboarding questions (e.g. “What type of site are you building?”), which helps personalize recommendations.
Step 2: Choose Your Website Creation Mode
Wix offers two ways to build your site:
- Wix AI Editor – Creates a complete website for you in minutes based on your answers (best for beginners).
- Wix Classic Editor – Gives full creative control with drag-and-drop tools (best for users who want design freedom).
If you’re comfortable playing with layouts, pick the Classic one.
Step 3: Select a Template
Browse templates by category – Personal, Business, Portfolio, Creative, Blog, etc. Each one is fully customizable, so don’t worry if it’s not a perfect match for your idea. Click Edit to start personalizing.
Step 4: Customize Your Website
Use the sidebar tools to add or edit elements like text, images, buttons, galleries, contact forms and more. You can also drag any block around the page to arrange it exactly how you like.
Key elements to edit:
- Logo and Header
- Home Page Message
- About Section
- Portfolio or Services
- Contact Form and Social Links
Tip: Use the built-in Mobile Editor to preview and adjust the mobile version – over 50% of traffic comes from phones.
Step 5: Add Features from Wix App Market (Optional)
Enhance your free site with built-in integrations like:
- Contact Forms
- Live Chat
- Calendar Booking
- Instagram Feed
- Newsletter Signup Form
These are drag-and-drop apps – some free, some premium.
Step 6: Set Up Free SEO Basics
Use Wix SEO Wiz, a guided SEO tool that helps you pick keywords, edit page titles and meta descriptions, add image alt text, connect Google Search Console. Even on a free plan, you can get your site indexed in Google.
Step 7: Publish Your Site
Click Publish and your site will go live with a free Wix subdomain like username.wixsite.com/sitename. You can update content anytime – even after publishing.
Can You Upgrade Later?
Yes. If you want to:
- Change the subdomain to a custom domain (like yourname.com)
- Remove Wix ads
- Add eCommerce or payment tools
Then you can switch to a paid plan anytime – and all your content and design stay intact.
2. uKit Free Trial
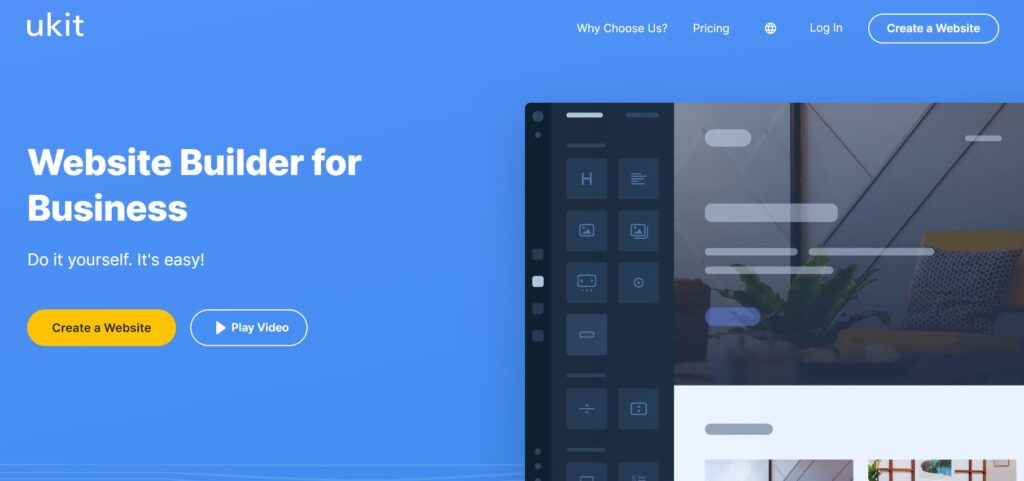
uKit doesn’t offer a forever-free tier – but it does provide a full-feature 14-day trial so you can build and explore everything without a credit card. That’s a game-changer if you want to test layouts, features, or a new business idea without committing.
Unlike Wix, uKit targets small business and portfolio websites specifically, so templates come ready for services, reviews, pricing, and contact forms. It’s also simpler – which makes it much faster for beginners.
What You Can Do in the Trial:
- Build a complete website (multisection or one-page design)
- Use all templates and blocks (including portfolio, service, landing, blog layouts)
- Customize colors, fonts, logos, mobile views
- Test contact forms, button actions and integrations
What Happens After Trial Ends:
- Your site is saved but no longer viewable publicly unless you upgrade
- No ads or branding during trial, but site becomes inactive later
- No free publishing option for live websites
How to Build a Website for Free with uKit
uKit offers a 14-day free trial that lets you explore all features, build a full website, and preview it live – without needing a credit card. It’s ideal if you want a simple, no-learning-curve way to create a website fast and then decide whether to activate it with a paid plan.
Step 1: Sign Up and Start the Free Trial
Visit the uKit website and click “Create a Website”. You can sign up using email or via a social login (Google, Facebook). Once logged in, your free trial begins, letting you build and customize a complete website before it goes live.
Step 2: Choose a Template
uKit offers 350+ professionally designed templates divided into categories like Business, Personal Page, Portfolio, Events and Landing Page. All templates are mobile-optimized and include ready-made sections (e.g., “About,” “Contact,” “Advantages,” “Testimonials”).
Choose a template that matches your purpose – a freelancer site, a small business, an online resume, etc. You can switch templates at any time without losing content.
Step 3: Customize Your Website
Once inside the editor, you’ll use a block-based system that makes customizing your website simple and beginner-friendly. You can:
- Edit text, images, buttons and colors
- Add new blocks such as galleries, forms or service lists
- Rearrange or delete sections with drag-and-drop
- Customize fonts and colors for cohesive branding
Tip: uKit offers version history, so you can undo or restore previous layouts if needed – great for testing new ideas.
Step 4: Add Essential Features
uKit includes practical site features such as:
- Built-in Contact Form (connects to email or CRM)
- Google Maps block for local businesses
- Social media integration (icons, auto-fill)
- Live chat via free widgets
- Callback buttons and lead forms
These features help your free trial site act like a fully functioning business website, even before it goes live.
Step 5: Preview Mobile and Desktop Versions
Use the device preview switch in the editor to ensure your site looks great on mobile, tablet, and desktop screens. All uKit templates are responsive by default, but it’s still smart to check layout adjustments.
Step 6: Publish and Test
During the free trial, your site is online temporarily, allowing you to preview it like a real visitor. You can share it with colleagues or clients for feedback before committing.
When you’re ready to launch permanently:
- Choose a paid plan
- Connect your domain or buy a new one through uKit
- Remove trial banners and activate SSL
Can You Upgrade Later?
Yes – when your free trial ends, your website will be saved but no longer publicly accessible until you subscribe to a paid plan. Upgrading unlocks:
- Custom domain connection
- Full hosting and SSL
- Unlimited pages and tools
- Business features like eCommerce
Your design and content stay intact – the only thing that changes is your site status (active or offline).
3. WordPress Free Setup (Self-Hosted or via Free Hosting Providers)
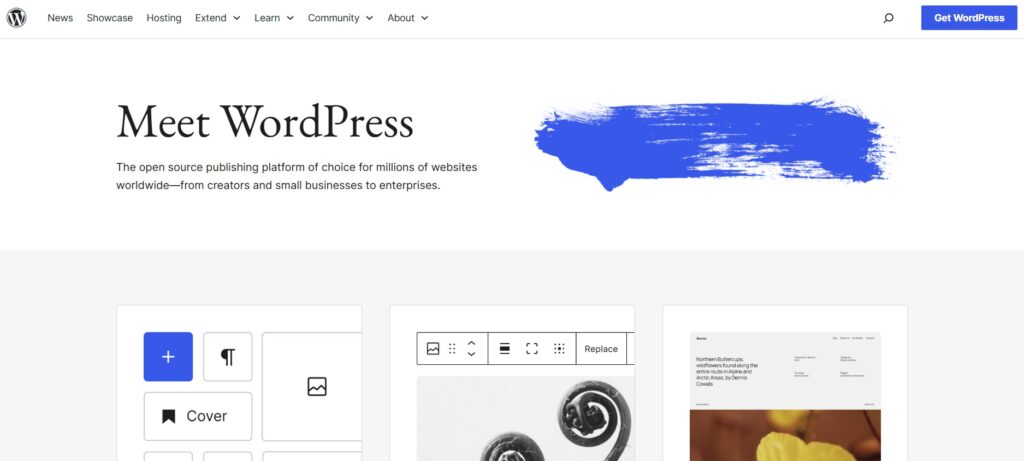
WordPress itself is 100% free – the platform is open-source and always will be. But to run a WordPress website, you need hosting and a domain. The good news: you can get these for free too, with a bit of setup.
Free hosting platforms let you install WordPress and use it with no cost – but with limitations (ads, limited space, slower speeds, no email accounts). You’ll still get access to the full WordPress dashboard and plugins though.
What’s Free:
- Full WordPress CMS = build blogs, stores, portfolios, landing pages
- Thousands of free themes (Astra, OceanWP, Neve etc.)
- Plugins for SEO, contact forms, analytics, social sharing etc.
- Unlimited posts, pages and content types
- Full ownership of the website’s content
What You Still Need:
- Free hosting (may show ads or throttle traffic)
- A free subdomain (or paid domain later)
- Manual setup (FTP or auto-installer, depends on hosting)
- Maintenance: updates, backups, performance tuning
How to Build a Website for Free with WordPress
Unlike all-in-one builders, WordPress is a free, open-source platform that gives you full control over your website – but you’ll need to set up hosting and a domain (both can be free if you use free hosting services). This method is ideal if you want a long-term, scalable website without paying upfront.
Step 1: Sign Up for Free Hosting
To use WordPress for free, you’ll first need a free hosting provider. Popular options like Bluehost or DreamHost offer special plans for WordPress sites that include a list of pros for their subscribers. Visit one of these sites, create an account and start a new hosting project. You’ll get a free subdomain and a control panel to install WordPress in one click.
Step 2: Install WordPress
Select a suitable plan to install WordPress in one click, choose your site name and admin login. This gives you access to the WordPress dashboard – your website’s control center.
Step 3: Choose a Free Theme
Inside the WordPress dashboard, go to Appearance → Themes → Add New. Browse 11,000+ free themes or search for popular ones in the integrated software repository. You can also find a free or paid template online.
Pick a theme that fits your site style (business, personal brand, blog, portfolio), then activate it. You can customize colors, fonts, header layout and more via Appearance → Customize.
Step 4: Add Essential Plugins
Plugins add functionality to your free site. Install plugins under Plugins → Add New to expand features:
- Elementor or Spectra (drag-and-drop page builders)
- Contact Form 7 (contact forms)
- Yoast SEO or Rank Math (search engine optimization)
- WP Super Cache (site speed optimization)
All of these plugins have free versions you can use to build a full-feature website without paying.
Step 5: Create Your Website Pages
Go to Pages → Add New and create main pages such as Home, About, Services or Portfolio, Contact, Blog etc. Use the Gutenberg block editor or page builder plugin to add sections, images, buttons, and text.
Tip: You can build a custom homepage layout using a page builder plugin if your theme doesn’t include one by default.
Step 6: Enable Essential Settings
Before launching your site, adjust these in Settings → General / Reading / Permalinks:
- Site name and tagline
- Set homepage and blog page visibility
- Change URL structure to “Post name” for cleaner links
You can also install security and backup plugins like All-in-One WP Security and UpdraftPlus (free versions available).
Step 7: Publish and Go Live
Once you’re happy with your layout and content, your site is already live on the free subdomain provided by your hosting company. You can later connect a custom domain (paid), upgrade hosting, or migrate seamlessly to a premium provider like Bluehost, SiteGround, or Hostinger.
Can You Upgrade Later?
Absolutely. You can switch from free hosting to paid hosting at any time without changing your content or design. Upgrading gives you:
- A custom domain (yourname.com)
- Faster site performance
- No hosting ads
- More storage and resources
- Better support and security
This is what makes WordPress a future-proof choice even if you start for free.
Quick Comparison Table
Feature | Wix (Free) | uKit (Free Trial) | WordPress.org |
Forever free option | Yes | No | Yes (via free hosting) |
Drag-and-drop builder | Yes | Yes | Requires plugin |
Custom domain support | No | No (trial) | Yes (when upgraded) |
Hosting included | Yes | Yes (trial) | Self-provided |
SEO flexibility | Basic | Basic | Advanced via plugins |
Scalable long-term | Medium | Medium | High |
Best for | Free personal site | Simple business | Blogs / long-term growth |
Bottom Line
You don’t need a budget to start building your online presence – just the right platform. Whether you’re testing an idea, learning the basics or launching a simple site, you have strong free options:
- Wix offers drag-and-drop freedom with a forever-free plan – perfect for quick, creative site building.
- uKit lets you build a full-featured site during its free trial, with a minimal learning curve – great for fast business or portfolio setups.
- WordPress gives you unlimited flexibility and control when paired with free hosting – ideal if you’re ready to handle setup and plan to grow.
And when you’re ready to scale? You can upgrade seamlessly without losing your work – your website grows with you, not against you.
You will also be able to easily change the platform in the future if needed. There are specialized services that handle such website migrations – https://wordpresstowix.pro/. So you can easily try uKit first, then test WordPress and build a site on it. But later, if you change your mind, you can transfer the site to Wix. It’s not a problem.